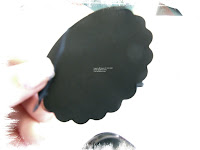
Well here is a quick way to make your own...

First you will need a small corner rounder... I used Stampin Up's 3/16th corner rounder here.. and two ovals.. One has my main image the other is the next size larger.

Carefully remove your guard from the punch like so...

Now that your guard is removed take your oval and place it in the punch flush. Begin punching around your oval...

It will begin looking like this. Line up each punch with the following punch and continue going around...


After going all the way round you will end up with a scalloped shape. Here I had a scalloped oval to back my main image for my card.

Now you can make your own scalloped shapes for your cards too. Hope you all have a blessed Monday...
Supplies:
Stamps: Retired Madonna and Child stamp set, retired french script background
Cardstock: taken with Teal, whisper white, basic black
Ink: stazon black, taken with teal, craft white
Accessories: white ep, watercolor crayons, corner rounder, oval nestablities, aquapainter

3 comments:
nice job! sounds easy enough
I really like your tutorials. Breaks it down for the simple minded people such as myself.
i'm going to have to borrow my mom's corner rounder. i only have a slit punch for scallops, but without a coluzzle, it's hard to do the circle. tfs.
Post a Comment